Do Not Try This At Home
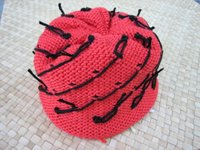
Yesterday, I showed you a very messy watermelon. And I promised you that I had a plan.
Behold:
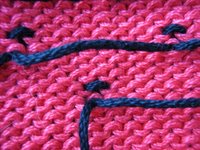 Here is a close-up of the inside.
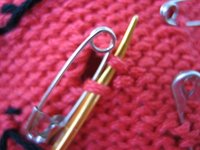
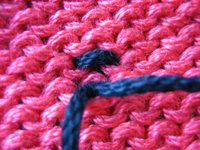 Here is an even tighter shot of that first "seed," so that you may see all the details.
 Step One: I pull on that black loop thingie just a bit to open everything up. Note that the black yarn goes through three loops of the red yarn. Note that it goes through the bottom red loop twice.
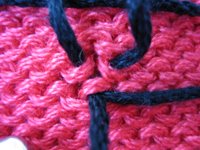
 Step Two: I pull on the "free" end of the black yarn, starting from that black loop I loosened up. I pull it clean out of my knitting. (Don't worry. This doesn't cause it to unravel.)
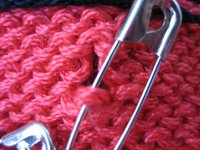
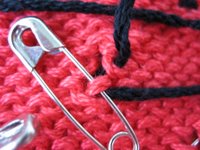 Step Three: I stick a safety pin through the bottom red loop. (The one the black yarn previously went through twice, but now only goes through once.) This is the critical loop.
 Step Four: I pull the rest of the black yarn out of the stitch.
 Step Five: I repeat this process for each of the "seeds."
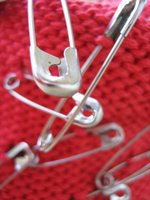 Here is a more artistic, but completely uninformative, picture of Step Five.
 Step Six: I thread a darning needle with my black yarn. I put the needle through the bottom red loop and through one of the side red loops.
 I pull the needle through, leaving a long enough tail of black yarn to knot off or weave in to prevent unraveling.
I remove the safety pin.
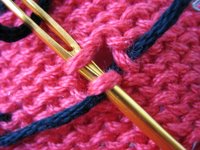 Step Seven: I thread the needle through the other side loop, then back through that bottom loop again.
 I pull the black yarn through, but not too tightly.
I repair each of the seeds in this fashion, working diagonally rather than straight around. (If I worked straight around, I would have just redone what I spent all that time undoing. Major waste of effort. The whole point of this is to take advantage of the fact that the distance from seed to seed diagonally is much shorter than it is across. Hence a shorter float.)
I break the yarn wherever a longer float would be necessary. (I used a single length of yarn for each diagonal row. But I could have worked my way around the hat in a zig-zig fashion and would not have had to break the yarn nearly as many times. However, I did not realize this until I was already halfway done.)
End result:
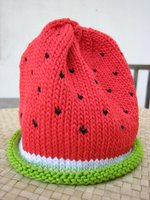 Still pretty outside.
 And now much prettier (and safer) inside.
BUT.
The thing is -- and I didn't time myself or anything -- I think I probably could have frogged and reknit most of the hat in the time it took me to effect the repair. Very fiddly.
So frogging was probably the "better" option.
But who among us could frog cute?
Behold:
 Here is a close-up of the inside.
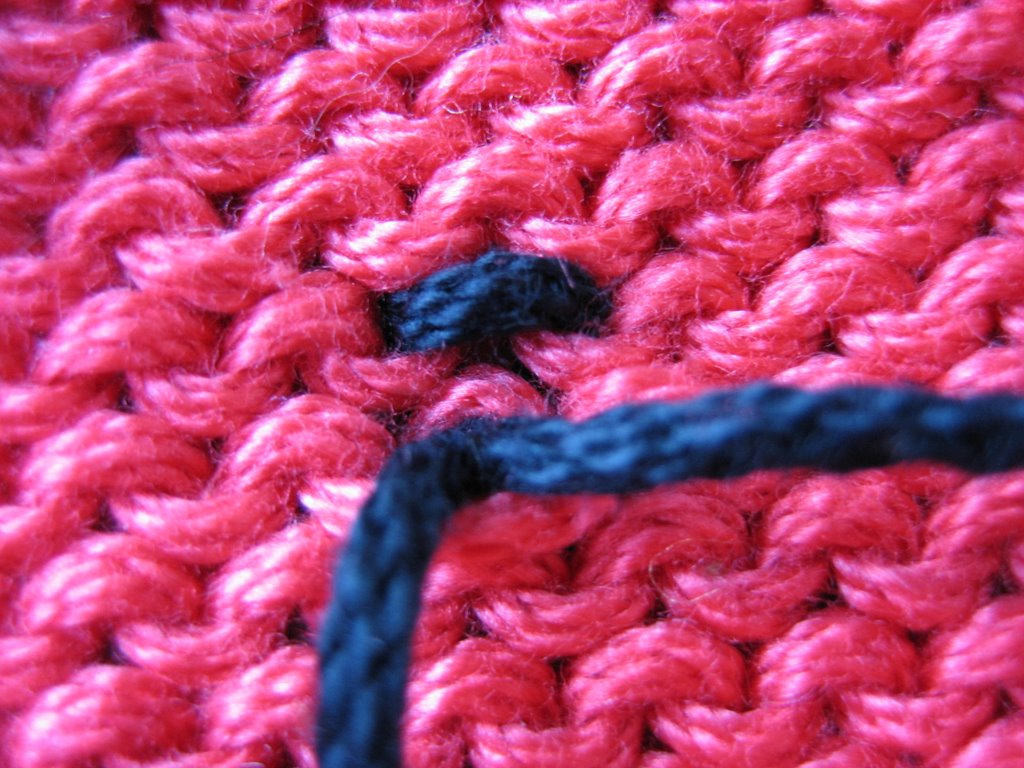 Here is an even tighter shot of that first "seed," so that you may see all the details.
 Step One: I pull on that black loop thingie just a bit to open everything up. Note that the black yarn goes through three loops of the red yarn. Note that it goes through the bottom red loop twice.
 Step Two: I pull on the "free" end of the black yarn, starting from that black loop I loosened up. I pull it clean out of my knitting. (Don't worry. This doesn't cause it to unravel.)
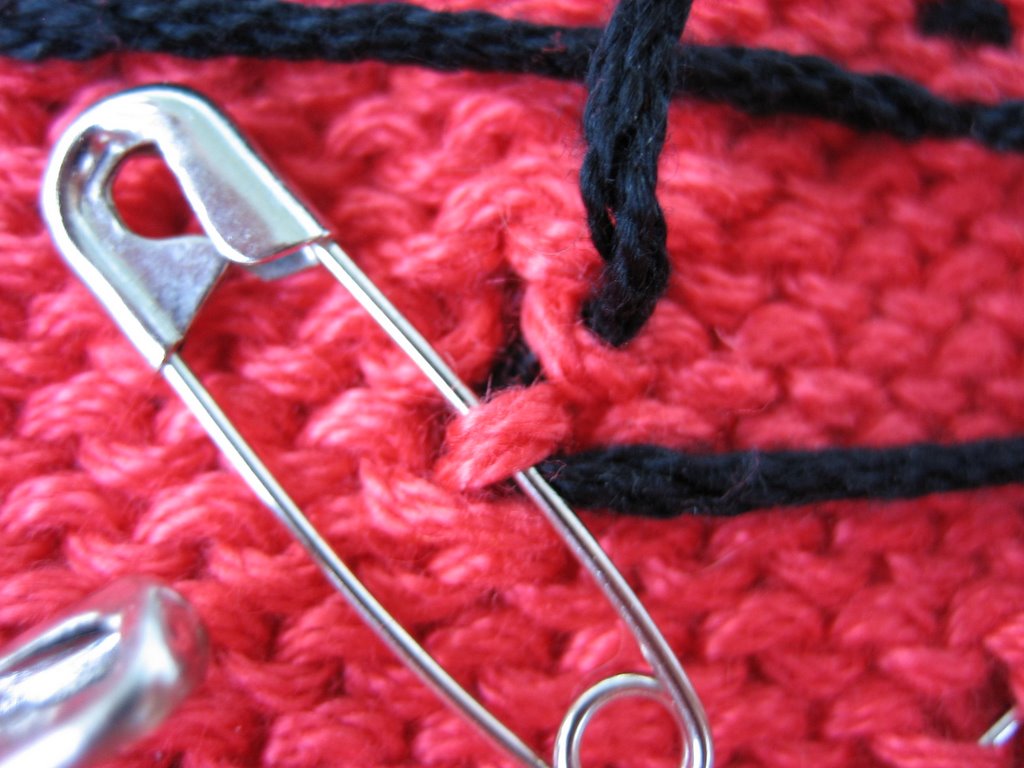 Step Three: I stick a safety pin through the bottom red loop. (The one the black yarn previously went through twice, but now only goes through once.) This is the critical loop.
 Step Four: I pull the rest of the black yarn out of the stitch.
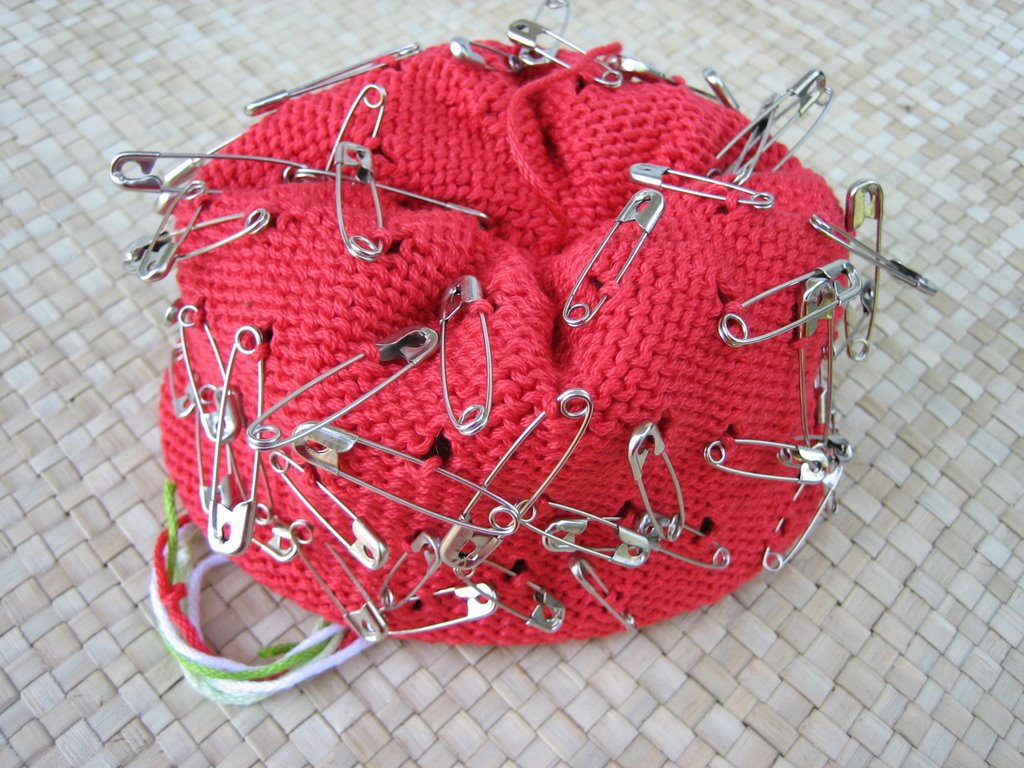 Step Five: I repeat this process for each of the "seeds."
 Here is a more artistic, but completely uninformative, picture of Step Five.
 Step Six: I thread a darning needle with my black yarn. I put the needle through the bottom red loop and through one of the side red loops.
 I pull the needle through, leaving a long enough tail of black yarn to knot off or weave in to prevent unraveling.
I remove the safety pin.
 Step Seven: I thread the needle through the other side loop, then back through that bottom loop again.
 I pull the black yarn through, but not too tightly.
I repair each of the seeds in this fashion, working diagonally rather than straight around. (If I worked straight around, I would have just redone what I spent all that time undoing. Major waste of effort. The whole point of this is to take advantage of the fact that the distance from seed to seed diagonally is much shorter than it is across. Hence a shorter float.)
I break the yarn wherever a longer float would be necessary. (I used a single length of yarn for each diagonal row. But I could have worked my way around the hat in a zig-zig fashion and would not have had to break the yarn nearly as many times. However, I did not realize this until I was already halfway done.)
End result:
 Still pretty outside. And now much prettier (and safer) inside.
BUT.
The thing is -- and I didn't time myself or anything -- I think I probably could have frogged and reknit most of the hat in the time it took me to effect the repair. Very fiddly.
So frogging was probably the "better" option.
But who among us could frog cute?
Labels: Hats, Tips / Tutorials / Experiments
posted by Anonyknits at Friday, July 07, 2006
![]()

3 Comments:
I could not frog cute. And artistic renditions of step 5 are very necessary. Fantastic tutorial!
The red bib I knit has a basketweave pattern from the Vogue Knitting book. I just had to cast on five extra stitches and made the straps 12 stitches wide. Wanted to do something besides garter stitch.
yikes. you're a more patient knitter than I!
Great fix! I'd have probly just cut the floats and tied knots but your way is so much better looking. You are definetly a patient knitter.
Post a Comment
<< Home